Progress Blog #4 - Bespoke Object
Over the reading week, I laser-cut the sections to create the finished prism shape.

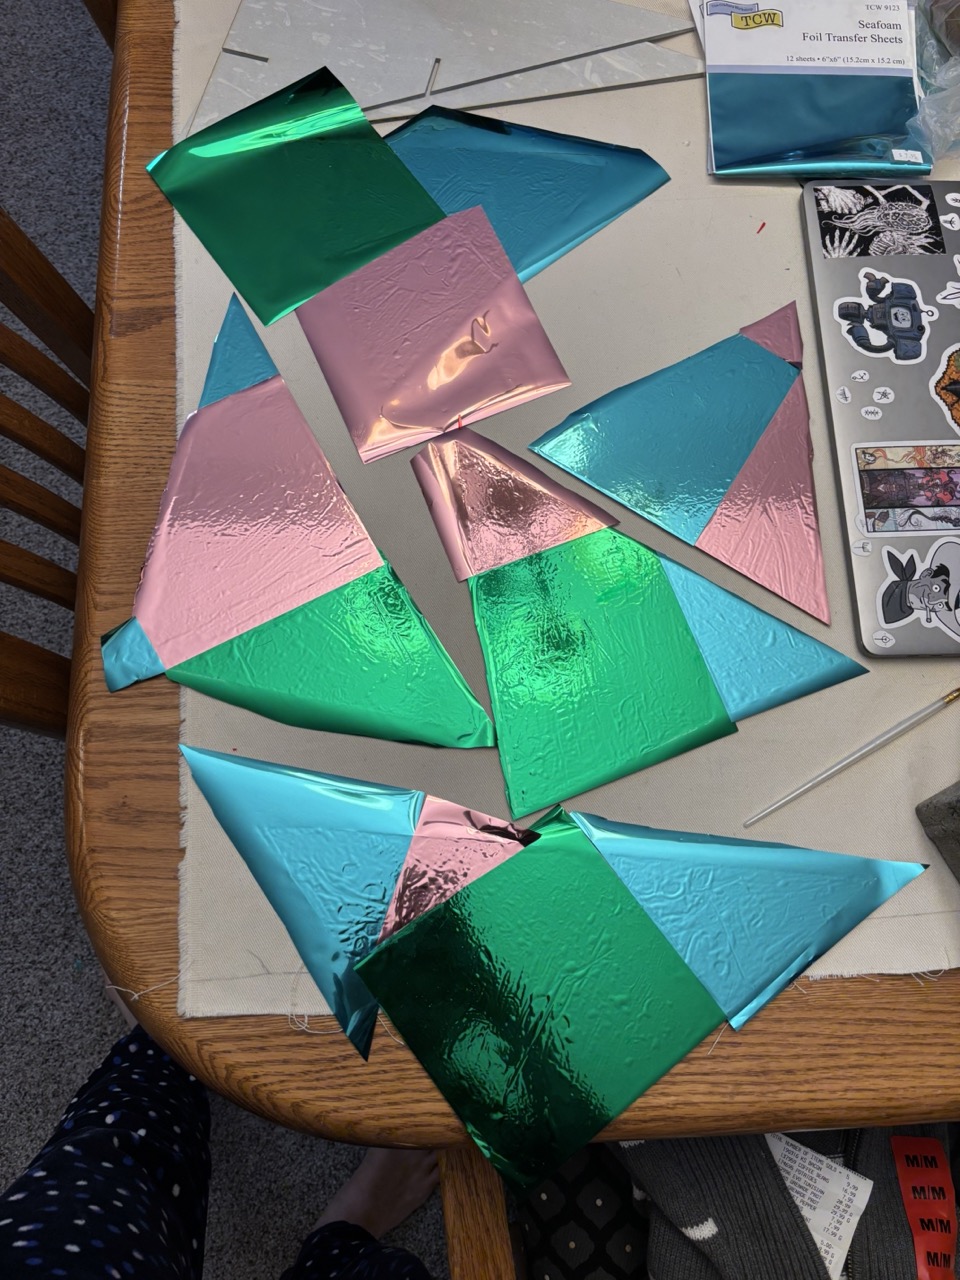
Over rrading week I also researched ways I could cover up the back sides of the coloured mirror, so it was not the gray flat colour that it is sold as. I experimented with metallic acrylic paint, but it was not as reflective as I would have liked. I searched for some reflective mylar, but it was either too expensive or sold in much larger quantities than I needed for this project. Eventually, I decided to use coloured foil transfer sheets. I went with this option as they are sold in smaller, more affordable quantities, are still reflective, and are sold in various colours, meaning there is more creative freedom to experiment with them in this regard.
However, one of the major roadblocks I had with the transfer sheets was that they were not adhering to the back of the mirror. I tried applying pressure to them, but they only stuck in some areas and flaked off in others. I tried sticking them first with spray adhesive, but the glue would not dry in the center. Eventually, I tried matte gel on the back of the mirror and did not pull the foil up. This does create small ripples and bumps on the surface, but at least the foil is consistently applied to the surface.


Comments
Post a Comment